
Beyond Prompting: How to Iterate on Your AI Prototypes
Get more control over your AI tools to get better results and save cost

If you’re vibe coding or prototyping, one part of the journey is always frustration with feeling out of control. You are using a non-deterministic tool because it feels like magic, but you do want to shape the outcome.
Have I wanted to throw my laptop out the window when AI feels like it’s ignoring me? Of course!
Here’s my tip. Get good at iterating in multiple modes, not just text prompts.
Most people assume you just need to talk to the AI or yell in all caps to get it to the result you want, but there are other more effective tactics.
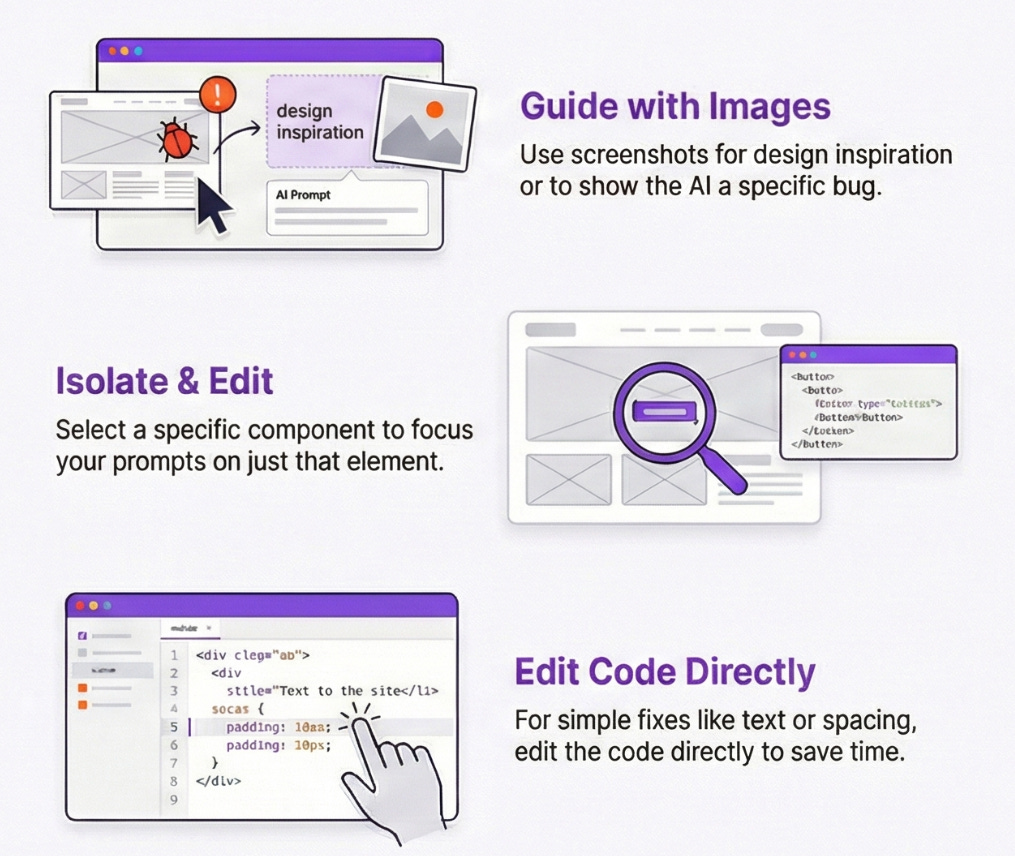
1. Guide with images
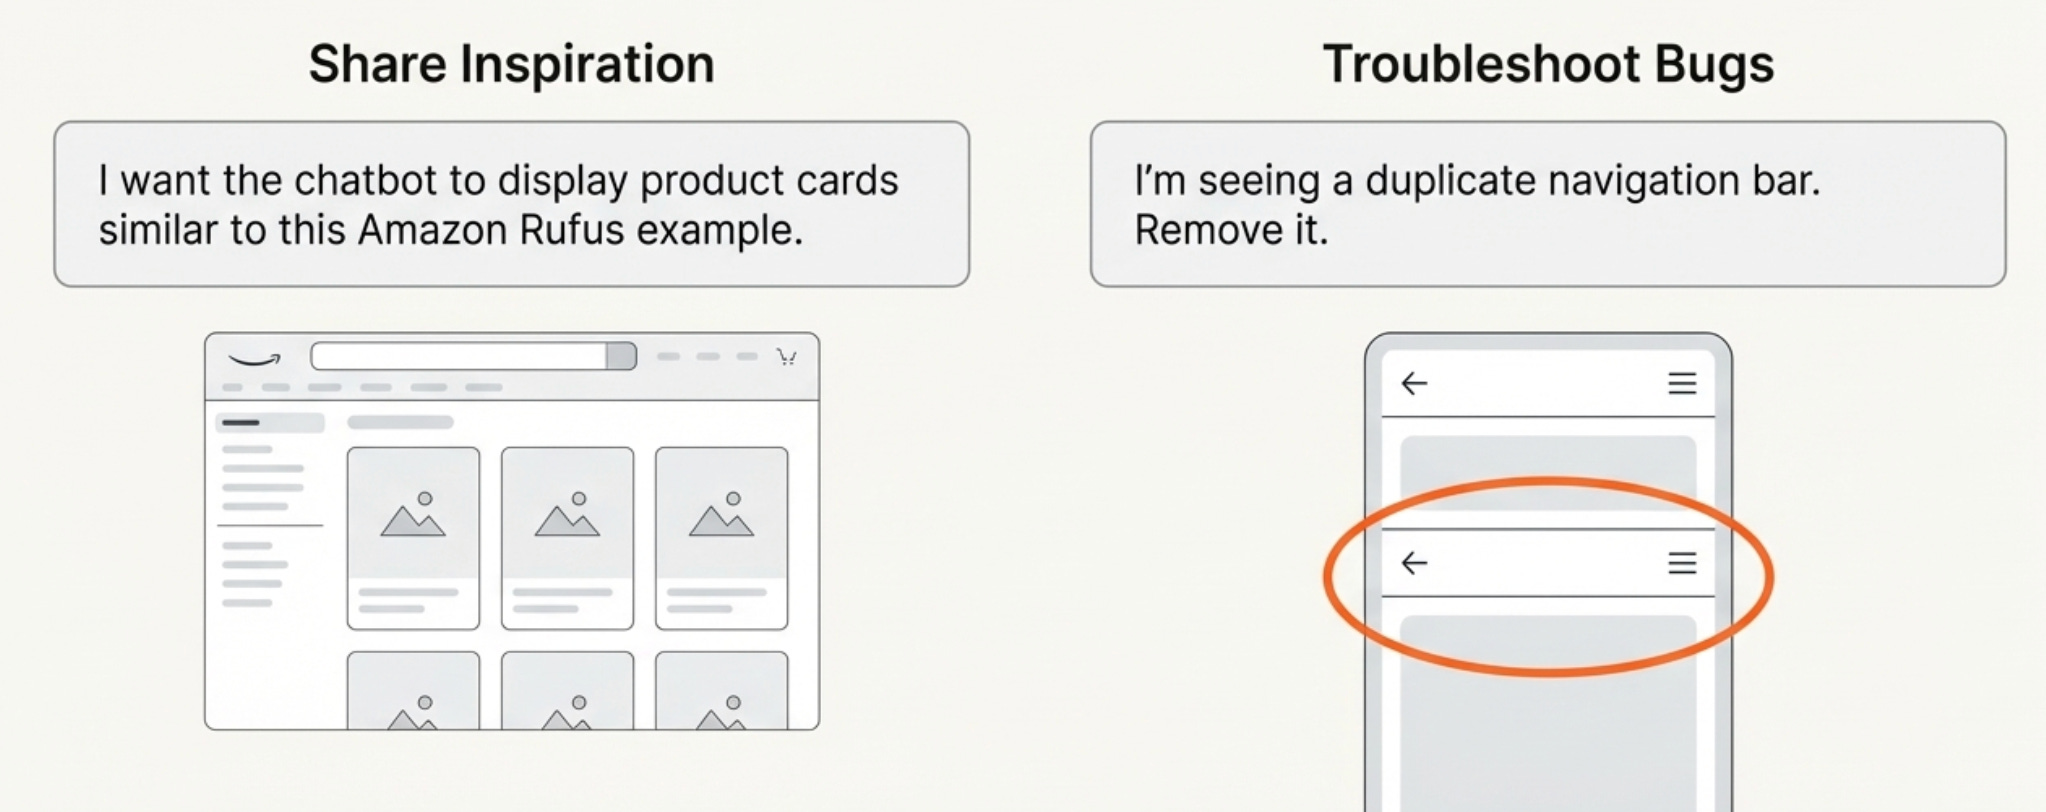
Look below the input box to add an image as part of prompting. This can be helpful for sharing inspiration from other apps. It can also be helpful for troubleshooting bugs as the AI tool can’t “see” the app it is producing.
🛠️ Tool tip: Try Google AI Studio annotate + screenshot: You can easily select a portion of the screen and add a comment. AI studio takes a screenshot and adds it to the prompt for you.
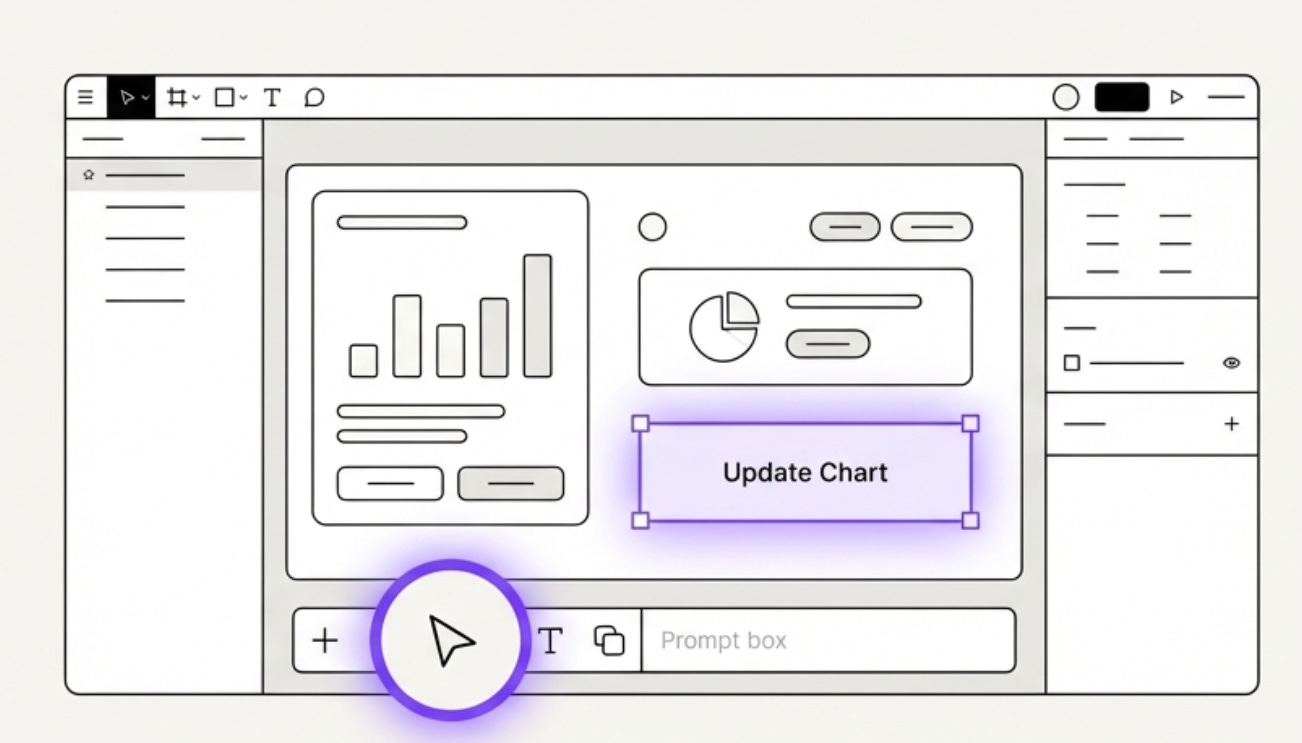
2. Isolate and edit:
Look for the select arrow icon in the toolbar below the prompt box in whatever tool you are using. This allows users to select a part of the prototyping they are working on.
Once you select something it scopes your chat to that specific element of the prototype.
🛠️ Tool tip: Once you select an area Figma Make has a bar that pops up allowing you to edit and prompt that area specifically for updates.
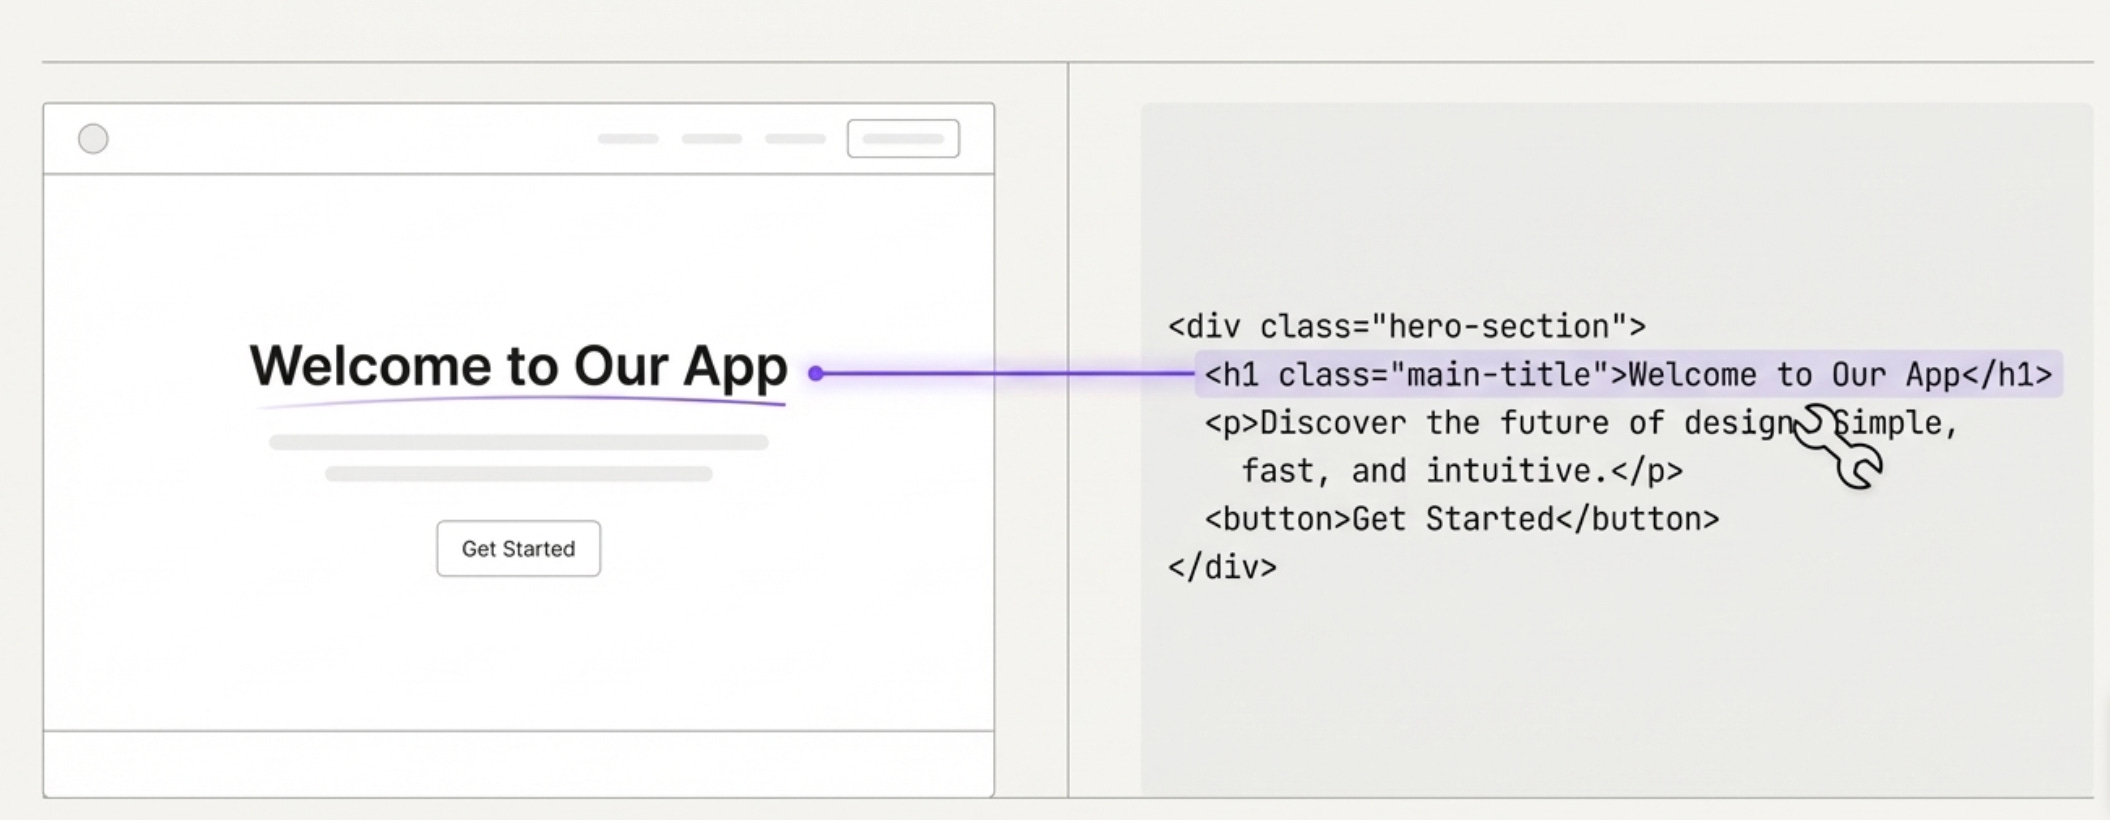
3. Edit code directly
Flip to the code and make edits directly. I encourage people with no technical or coding background to still learn to make simple changes like updating text or spacing in the code these AI tools generate, because it can save time and credits.
You can chat with Gemini, Claude or ChatGPT to get help too.
🛠️ Tool tip: Lovable has a design (palette icon) that allows you to select elements and then easily jump to the code relevant to edit them or make some design formatting changes directly.
Apply these approaches to get more control and better outputs to match your needs.
No matter how good your initial AI PRD or document is, you are going to need to work in the AI tool to make updates. This is especially true in the discovery phase where I feel prototyping is most helpful.
It’s just part of the natural product exploration and development process. Once we visualize something we can now see how it needs to evolve.
These tips will help you regain some control and reduce cost while maintaining the serendipity of seeing what AI comes up with.
Ready to dive deeper?
If you want to master these workflows and stop “yelling in all caps” at your AI, I have two ways to help you level up:
Free Maven Lesson: “How to Prototype LLM Products”: Join me on January 16 for a deep dive into how to hook up prototypes to an LLM brain. Can’t make it live? Sign up anyway, and I’ll send you the recording. 👉 Sign up link
Live 3-Week Cohort: “AI Prototyping for Established Products” Starting February 23, we’ll go beyond the basics to help you integrate AI prototyping into professional product workflows. This course will dive into how to efficiently make updates and just outputs, make it look your product and communicate with them to have impact.
💡 Almost Magic perk: My Substack readers get 20% off the cohort with code: MAGIC20.
Love the tip about editing code directly. It's really easy to get caught up in the whirlwind of what these AI tools generate and forget to look under the hood. Especially for non-technical people like me, it's a good learning exercise to inspect the code and figure out potentially easy fixes. It gives a feeling of control in a space where it can feel like the AI is running without a leash.